Chelsea Crochet Scarf: Easy Beginner Free Pattern
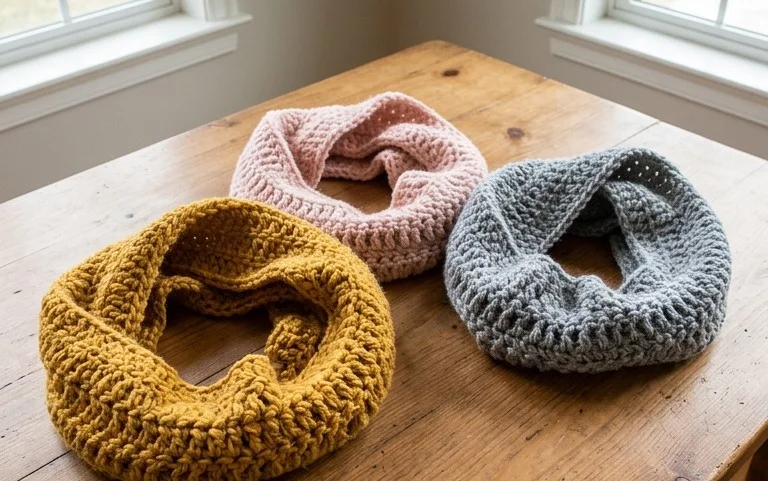
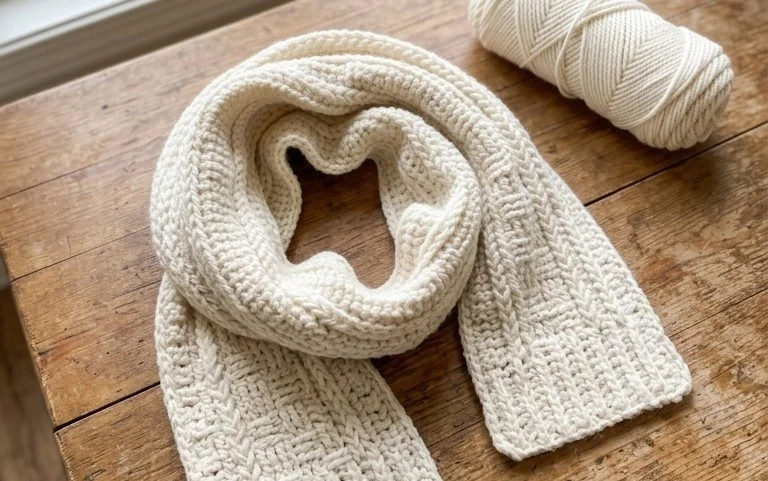
This wrap features a supple, squishy texture that drapes beautifully around the neck without feeling bulky or stiff. Beginners will appreciate how the simple repeat creates a professional result, while seasoned makers can finish this project in just one evening of relaxed work. You will learn to master the elongated stitch that gives this accessory its signature look and airy volume. It serves as a thoughtful gift for friends or a quick addition to your own cold-weather wardrobe. Once you understand the basic stitch alignment, you can settle into a comfortable rhythm that makes this the go-to project for quiet afternoons at home.
Why You’ll Love This Pattern
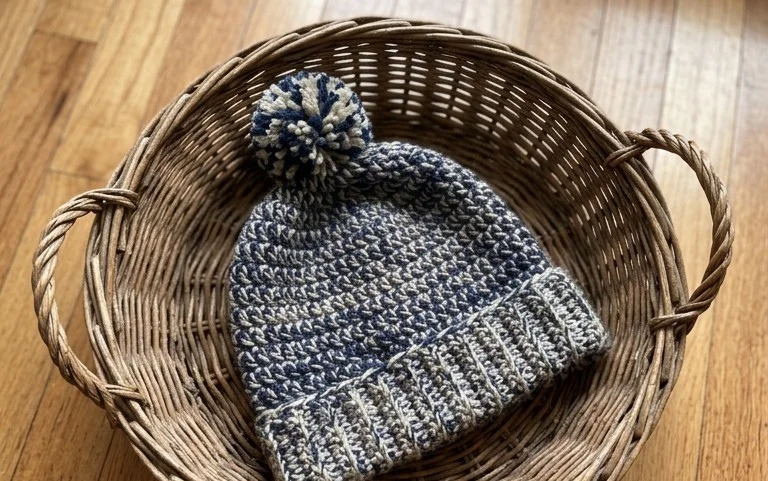
This crochet ribbed beanie offers a classic, fitted silhouette that relies on simple half double crochet stitches worked in the back loops to create a stretchy, knit-like fabric. You will find this project highly satisfying because it works up quickly using a bulky weight yarn, making it an ideal choice for last-minute gifts or a weekend accessory update. The vertical construction eliminates the need for complex increases or decreases, allowing you to focus on maintaining a consistent tension for a professional finish. Because it is worked flat as a rectangle and then seamed, even those new to garment making can achieve a clean result without the stress of circular shaping.
I finished this hat in one evening while watching a movie. The texture is incredibly soft and it actually fits my head perfectly without stretching out after a few wears.
— Sarah, hobbyist crocheter
Pattern Overview & Skill Level
- Skill Level: Beginner
- Approximate Time: 2–3 hours
- Construction: Worked flat as a rectangle in turned rows, then seamed vertically and cinched at the top.
- Finished Dimensions: 9 inches wide by 10 inches tall (fits average adult head circumference of 21–23 inches).
Materials & Supplies Needed
- Yarn: Bulky weight (#5), approximately 150 yards of acrylic or wool blend.
- Hook Size: 6.0 mm (J-10).
- Notions: Tapestry needle for seaming, scissors, measuring tape, and a removable stitch marker.
- Safe yarn substitutions: You may use a heavy worsted weight yarn held double, though this will significantly increase the weight of the fabric. Avoid 100% cotton, as it lacks the necessary elasticity to maintain the hat’s shape over time.
Stitch Guide & Abbreviations (US Terms)
- ch: chain
- hdc: half double crochet
- st/sts: stitch/stitches
- BLO: back loop only (inserting the hook only under the back loop of the stitch from the previous row).
- sl st: slip stitch
- turn: turn your work to begin the next row.
Step-by-Step Pattern Instructions
Main Body Panel
You will work the entire body of the hat as one flat, rectangular piece. The length of your foundation chain determines the height of the hat, and the number of rows determines the circumference.
- Row 1: Ch 31. Hdc in the second ch from hook and in each ch across. (30 sts). Turn.
- Row 2: Ch 1, hdc in the BLO of each st across. (30 sts). Turn.
- Rows 3–45: Repeat Row 2 until the piece measures approximately 18 inches unstretched. Ensure you end on an even row. (30 sts).
- Finishing: Fasten off, leaving a 12-inch tail for seaming.
Assembly
- Seaming the side: Fold the rectangle in half so the short edges meet. Using your tapestry needle and the long yarn tail, mattress stitch the two edges together to create a tube.
- Closing the top: With the hat inside out, weave the yarn tail in and out through the stitches along the top edge. Pull the tail tight to gather the fabric into a circle, then secure with a few knots.
- Weaving ends: Turn the hat right-side out and weave in all remaining yarn ends securely into the fabric to prevent unraveling.
Care & Washing Instructions
- Hand wash in cool water using a mild wool-safe detergent to preserve the elasticity of the fibers.
- Lay the hat flat on a clean towel to air dry, reshaping it while damp to ensure the ribbing stays even.
- Avoid wringing or twisting the fabric while wet, as this can permanently stretch the stitches and distort the fit.
Pro Tips & Common Mistakes to Avoid
- Maintain consistent tension: Because you are working in the back loops, the fabric naturally wants to stretch. Keep your tension firm, especially on the turning chain, to ensure the edges remain straight.
- Use a stitch marker: Place a marker on the very first stitch of every row. Beginners often accidentally skip the last stitch of a row, which causes the rectangle to taper into a triangle rather than staying a perfect square.
- Weaving ends: Always weave your yarn tails back and forth in three different directions within the seam. This prevents the ends from popping out when the hat is stretched over your head.
- Adjusting size: To make the hat larger or smaller, add or subtract chains at the foundation. Each added chain increases the hat height by approximately 0.3 inches; adding or subtracting rows adjusts the circumference by 0.4 inches per row.
Frequently Asked Questions
Can I use a different hook size for this pattern?
Using a smaller hook will make the fabric denser and stiffer, while a larger hook will create a drapier, looser feel. For best results with bulky yarn, stick to the 6.0 mm hook specified.
Is this pattern suitable for complete beginners?
Yes, this is an excellent starter project. It uses only one type of stitch and requires no complex shaping, allowing you to practice maintaining even tension on a simple rectangular shape.
How do I know if the hat will fit correctly?
The hat should measure about 3 inches smaller than your total head circumference when laid flat. The ribbing will naturally stretch to fit comfortably while staying secure.
Can I sell items made from this pattern?
You are welcome to sell finished items made from this design. Please provide credit to the designer by including a link to this pattern in your product description.
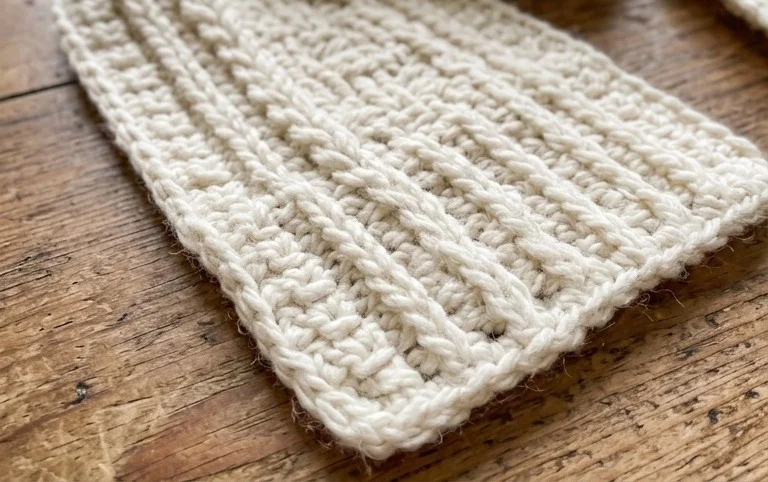
Your finished wrap is ready to provide warmth and style during those crisp autumn walks or chilly office hours. For a different look next time, try using a variegated yarn to highlight the texture or work an extra twenty rows to turn it into an oversized blanket wrap. Posting a picture of your finished work online helps other makers find inspiration for their own yarn stashes. Check back on the blog soon for more accessible projects and seasonal designs to keep your hooks busy all year long.