Classic Crochet Granny Square: Free Beginner Pattern
A classic granny square feels substantial in your hands, with its crisp geometry and repeating stitch clusters. This project works well for anyone building a stash of squares for a patchwork blanket or those who prefer working on smaller, portable items during a busy week. You get to practice the fundamental chain-space method that defines many vintage home goods, leading to a square that sits flat and holds its shape without needing aggressive blocking. We focus on the essential materials needed to get started, ensuring your hook and yarn choice create a balanced, tidy piece of handmade fabric.
Why You’ll Love This Pattern
The Classic Crochet Granny Square is the fundamental building block of crochet heritage, favored for its versatility and rhythmic, meditative construction. This pattern produces a traditional square with sharp corners and distinct clusters, perfect for joining into blankets, cardigans, or tote bags. You will appreciate the minimal ends to weave in when working in a single color, as well as the quick, satisfying progress made with each round. Beginners often find this pattern the most effective way to master tension control and the relationship between chain spaces and double crochet stitches.
I finally mastered the granny square after struggling with other stitches. The way this pattern explains the corner turns made everything click for me in just one sitting.
— Sarah, hobbyist crafter
Pattern Overview & Skill Level
- Skill Level: Beginner
- Approximate Time: 30 to 45 minutes per square
- Construction: Worked in joined rounds, starting from the center and expanding outward.
- Finished Dimensions & Sizing: Approximately 5 inches by 5 inches using medium weight yarn and a 5.0 mm hook.
Materials & Supplies Needed
- Yarn: Worsted weight (#4), acrylic or cotton blend, approximately 20 yards per square.
- Hook Size: 5.0 mm (US H-8).
- Notions: Tapestry needle for weaving in ends, sharp scissors.
- Safe yarn substitutions: You may use DK weight (#3) with a 4.0 mm hook for a smaller, tighter square, or bulky weight (#5) with a 6.0 mm hook for a larger, quicker square. Note that changing weight will alter the finished dimensions and total yardage requirements.
Stitch Guide & Abbreviations (US Terms)
- ch = chain
- sl st = slip stitch
- dc = double crochet: Yarn over, insert hook into stitch, yarn over and pull up a loop, yarn over and pull through two loops, yarn over and pull through remaining two loops.
- dc cluster = 3 dc stitches worked into the same space.
- sp = space
- rnd = round
Step-by-Step Pattern Instructions
The square is built by working clusters of double crochet stitches into the spaces created by the previous round.
Rnd 1: Ch 4, sl st to the first chain to create a ring. Ch 3 (counts as first dc), work 2 dc into the ring, ch 2. Work 3 dc into the ring, ch 2. Work 3 dc into the ring, ch 2. Work 3 dc into the ring, ch 2. Sl st to top of the starting ch-3 to join. (12 dc, 4 ch-2 spaces)
Rnd 2: Sl st into the next dc and into the first ch-2 corner space. Ch 3, 2 dc, ch 2, 3 dc in the same corner space. *Ch 1, skip 3 dc, (3 dc, ch 2, 3 dc) in the next corner space. Repeat from * two more times. Ch 1, sl st to the top of the starting ch-3. (24 dc, 4 ch-2 spaces, 4 ch-1 spaces)
Rnd 3: Sl st into the next 2 dc and into the corner space. Ch 3, 2 dc, ch 2, 3 dc in the corner space. *Ch 1, 3 dc in the next ch-1 space, ch 1, (3 dc, ch 2, 3 dc) in the next corner space. Repeat from * two more times. Ch 1, 3 dc in the last ch-1 space, ch 1, sl st to the top of the starting ch-3. (36 dc, 4 ch-2 spaces, 8 ch-1 spaces)
Rnd 4: Sl st into the next 2 dc and into the corner space. Ch 3, 2 dc, ch 2, 3 dc in the corner space. *[Ch 1, 3 dc in the next ch-1 space] across to the next corner, ch 1, (3 dc, ch 2, 3 dc) in the corner. Repeat from * around, ending with ch 1 and sl st to the starting ch-3. (48 dc, 4 ch-2 spaces, 12 ch-1 spaces)
Fasten off yarn, leaving a 6-inch tail for weaving.
Care & Washing Instructions
- Hand wash or machine wash on a gentle cycle in cool water (30°C/86°F).
- Lay flat on a clean towel to air dry, ensuring the square is shaped into a perfect square while damp.
- Do not iron directly on the yarn, as this may flatten the texture of the stitches.
Pro Tips & Common Mistakes to Avoid
Maintain consistent tension by ensuring your starting ch-3 is not pulled too tight, as this can cause the square to curl. Always place a stitch marker in the top of your starting ch-3 to easily identify where to join your slip stitch at the end of every round. Weave your yarn tails in at least three different directions through the back of the double crochet stitches to ensure they do not pull loose over time. If you decide to add more rounds to make the square larger, simply repeat the pattern of working (3 dc, ch 2, 3 dc) in corners and 3 dc in every ch-1 space along the sides, which will require roughly 15-20% more yarn for each additional round.
Frequently Asked Questions
Can I use a different hook size than recommended?
Yes, changing your hook size is common to adjust gauge. A smaller hook will result in a denser fabric, while a larger hook will make the square drape more, though it may show gaps between the stitches.
Is this pattern suitable for complete beginners?
This pattern is ideal for those who have mastered basic chains and double crochet stitches. The repetition helps build muscle memory quickly.
Can I sell items made from this pattern?
You are welcome to sell finished squares or projects you create with them. Always check the specific designer terms if you are using a pattern from a different source, but for this general design, you have permission to use it for your small business.
Why is my square not laying flat?
If your square is rippling, your tension may be too loose or you are adding extra stitches. If it is cupping inward, your tension is likely too tight. Blocking the finished square by pinning it to a mat and misting it with water often corrects minor tension issues.
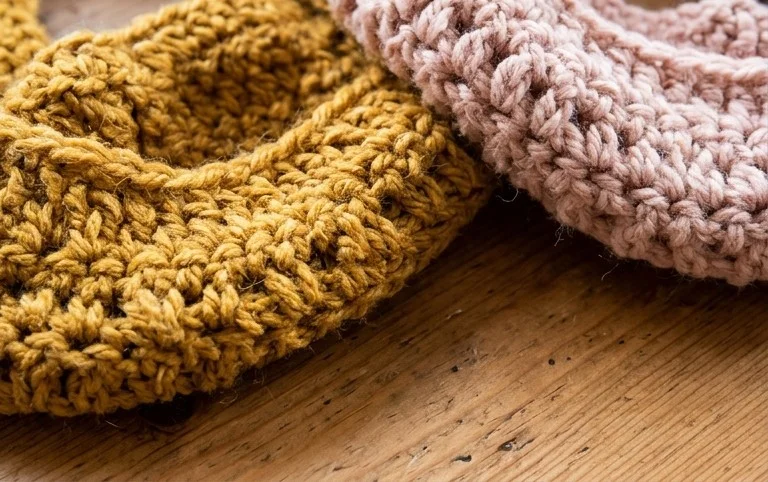
Seeing your first finished square with its sharp, clean corners is a satisfying moment that proves your tension is settling into a consistent rhythm. If you have leftover yarn, try making a multi-color version by switching shades at the start of every round for a playful effect. Sharing a photo of your finished square on Instagram or Pinterest helps others find inspiration for their own yarn collections. Browse the rest of the blog for more free patterns to continue building your skills with confidence and joy.