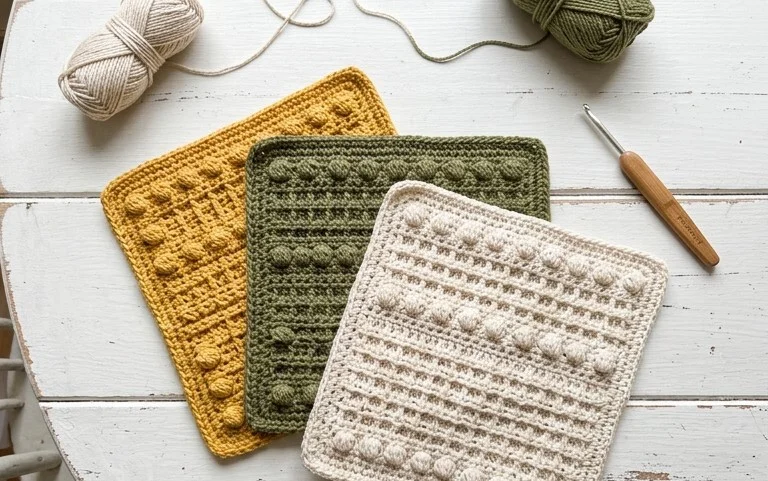
How to Crochet Dishcloths: 2 Free Patterns for Beginners
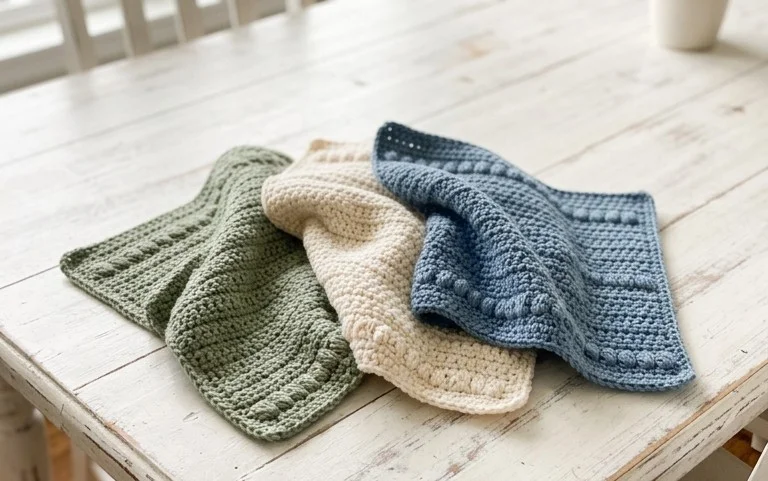
A cotton dishcloth feels thick and scrubby against your palm, holding enough moisture to wipe down granite counters while staying durable through hundreds of hot water rinses. Beginners find these squares rewarding because they work up in under an hour, providing a quick sense of completion. Whether you want a textured washcloth for the kitchen or a gentle option for the bath, these two styles utilize basic yarn-over techniques that sharpen your tension control. You will master the foundational chain, single crochet, and moss stitch, building a useful home staple that replaces wasteful synthetic sponges with handmade charm.
Why You’ll Love This Pattern
The Classic Crochet Granny Square is the quintessential building block of crochet craft. This pattern relies on a repetitive, meditative stitch pattern that makes it perfect for working on while listening to podcasts or relaxing in the evening. Because each square is independent, it serves as a highly portable project that you can carry in a small bag to work on during commutes or appointments. The project is incredibly scrap-yarn friendly, allowing you to use up small leftover balls of weight #4 yarn to create colorful, stash-busting blankets, bags, or garments.
This pattern helped me finally understand how to keep my corners square and my edges straight. It is the perfect repetitive project for when I want to crochet without thinking too hard.
— Sarah, hobbyist crafter
Pattern Overview & Skill Level
- Skill Level: Beginner
- Approximate Time: 30 to 45 minutes per square
- Construction: Worked in joined rounds, starting from the center and expanding outward
- Finished Dimensions: Approximately 6 inches by 6 inches using specified yarn and hook
Materials & Supplies Needed
- Yarn: Worsted weight (#4), 100% acrylic or wool blend, approximately 20 yards per square.
- Hook Size: 5.0 mm (US H-8)
- Notions: Tapestry needle for weaving in ends, sharp scissors.
- Yarn substitutions: Cotton yarn of the same weight will result in a firmer, less stretchy square; bulky yarn will create a larger square but will require a larger hook size to maintain proper drape.
Stitch Guide & Abbreviations (US Terms)
- ch: Chain
- st: Stitch
- sl st: Slip stitch
- dc: Double crochet
- dc cluster: A group of 3 dc worked into the same space or stitch
- sp: Space
- MR: Magic Ring
Step-by-Step Pattern Instructions
Center and Foundation
- Rnd 1: Start with a MR. Ch 3 (counts as first dc), work 2 dc into the ring, ch 2, 3 dc into the ring, ch 2—repeat from * to * 2 more times. Join with a sl st to the top of the initial ch 3. (12 dc, 4 ch-2 spaces)
Expanding the Square
- Rnd 2: Sl st into the next ch-2 corner space. Ch 3, 2 dc, ch 2, 3 dc in the same corner space. Ch 1, skip 3 sts, [3 dc, ch 2, 3 dc] in the next ch-2 corner space. Repeat from * to * two more times. Ch 1, join with a sl st to the top of the initial ch 3. (24 dc, 8 ch-1 spaces, 4 ch-2 spaces)
- Rnd 3: Sl st into the next ch-2 corner space. Ch 3, 2 dc, ch 2, 3 dc in the same corner space. Ch 1, 3 dc in the next ch-1 space, ch 1, [3 dc, ch 2, 3 dc] in the next ch-2 corner space. Repeat from * to * two more times. Ch 1, 3 dc in the final ch-1 space, ch 1, join with a sl st to the top of the initial ch 3. (36 dc, 12 ch-1 spaces, 4 ch-2 spaces)
- Rnd 4: Continue the pattern by placing [3 dc, ch 2, 3 dc] in each corner and 3 dc into every ch-1 side space, with a ch 1 between each cluster. (48 dc, 16 ch-1 spaces, 4 ch-2 spaces)
Finishing
Fasten off your yarn leaving a 6-inch tail. Use a tapestry needle to weave the tail through the back loops of the final round to secure it. If you are joining multiple squares, leave a longer tail on the final round to use for the whip-stitch or mattress-stitch joining method.
Care & Washing Instructions
- Machine wash your finished squares on a gentle cycle in cool water, ideally inside a mesh laundry bag.
- Lay the piece flat on a clean towel to air dry, reshaping it with your hands while damp to ensure it remains square.
- Avoid using high-heat tumble drying or ironing directly on the acrylic fibers, as this can melt or permanently deform the crochet stitches.
Pro Tips & Common Mistakes to Avoid
- Maintain consistent tension by holding your yarn with a steady grip; if your corners are curling, your tension on the ch-2 spaces may be too tight.
- Use a stitch marker to identify the starting ch 3 of each round, which helps you quickly locate the joining point at the end of the round.
- Weave in your yarn ends as you go, or over at least three inches of fabric, to prevent your squares from unraveling after repeated washing.
- Adjust the size of the square by simply adding more rounds following the pattern logic of placing cluster groups in the sides and corner groups in the corners; remember that larger squares will consume significantly more yarn.
Frequently Asked Questions
Can I use a different yarn weight for this pattern?
Yes, you can use any yarn weight, but you must adjust your hook size accordingly. A smaller hook will produce a denser, stiffer fabric, while a larger hook will create a more open, lacy texture.
How do I join these squares together?
The most common method is the whip-stitch, where you sew the back loops of two squares together, or the single crochet join, which creates a visible, raised decorative seam.
Is it okay to sell items made from this pattern?
Standard practice for this classic design is to allow sales of finished goods, but you should always check the specific designer’s terms if you purchased a proprietary pattern rather than using this classic method.
Why is my square turning into a hexagon or circle?
This usually happens if you are adding too many stitches in the side spaces or missing the corners. Ensure you are consistently adding exactly 3 dc in the corner spaces and 3 dc in the side spaces to maintain the square shape.
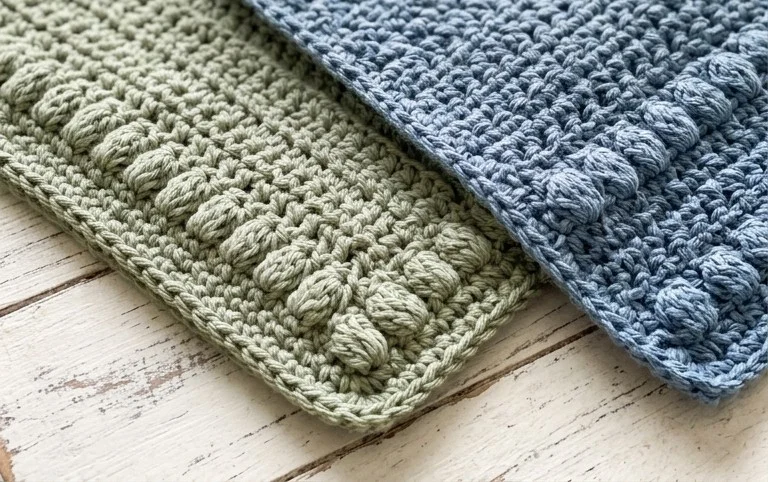
These sturdy cloths handle daily kitchen cleanup tasks with ease and add a touch of personality to your sink area. You might try alternating colors every two rows to create a striped effect or increasing your hook size to make an oversized duster for the bathroom. Posting a photo of your finished work helps others visualize their own projects, so do share your creations online if you feel inspired. Browse the rest of the blog for more houseware projects that keep your hands busy during the colder months.