Easy Granny Square Quilt: Free Beginner Crochet Pattern
Soft yarn squares pile up quickly, turning into a comforting blanket that feels heavy and warm against your lap. This classic project works for anyone wanting a simple way to practice consistent tension and clean color changes. You will find that joining these individual pieces creates a structured, textured finish similar to a traditional fabric quilt without the need for a sewing machine. We focus on the fundamental chain and double crochet stitches to build your confidence through repetition. This rhythm helps you master the layout of each block so you can start planning your unique color palette immediately.
Why You’ll Love This Pattern
The Classic Crochet Granny Square is the quintessential building block for fiber artists. You will find that this pattern works up quickly using basic stitches, making it ideal for those sessions where you want to crochet while listening to a podcast or audiobook. Because it uses a simple three-round repeat, you can easily memorize the sequence after just one square. This project is also highly versatile, serving as the foundation for blankets, cardigans, and tote bags. Using scrap yarn from your stash turns this into an economical project that helps clear out leftover bits from previous creations.
I finally learned how to make these squares after years of avoiding them. The instructions were clear and I managed to finish a whole stack of them for a baby blanket in just a weekend.
— Sarah, hobbyist crocheter
Pattern Overview & Skill Level
- Skill Level: Beginner
- Approximate Time: 20 to 30 minutes per square
- Construction: Worked in rounds from the center outward
- Finished Dimensions & Sizing: Approximately 5 inches by 5 inches using medium weight yarn
Materials & Supplies Needed
- Yarn: Worsted weight (#4) acrylic or cotton yarn, approximately 15 yards per square.
- Hook Size: 5.0 mm (US H-8).
- Notions needed: Tapestry needle for weaving ends, scissors.
- Safe yarn substitutions: You may use DK weight (#3) yarn with a 4.0 mm hook for a smaller, tighter square, or bulky weight (#5) yarn with a 6.0 mm hook for a larger, quicker square. Note that changing the yarn weight will significantly alter the finished size and drape of your project.
Stitch Guide & Abbreviations (US Terms)
- ch = chain
- dc = double crochet
- sl st = slip stitch
- sp = space
- MR = magic ring (or alternate: ch 4 and sl st to the first ch to form a ring)
- cluster = a group of 3 dc stitches worked into the same space
Step-by-Step Pattern Instructions
Granny Square Body
Start by creating your foundation ring. You can use a magic ring or chain 4 and join with a slip stitch to the first chain.
- Rnd 1: Ch 3 (counts as first dc here and throughout), 2 dc in ring, ch 2, *3 dc in ring, ch 2; repeat from * twice more. Join with sl st to the top of the beginning ch 3. (12 dc, 4 ch-2 spaces)
- Rnd 2: Sl st into the next two sts and into the first ch-2 corner space. Ch 3, 2 dc in same sp, ch 2, 3 dc in same sp. *Ch 1, skip 3 dc, (3 dc, ch 2, 3 dc) in next ch-2 space; repeat from * twice more. Ch 1, join with sl st to top of beginning ch 3. (24 dc, 4 corner ch-2 spaces, 4 side ch-1 spaces)
- Rnd 3: Sl st into the next two sts and into the corner ch-2 space. Ch 3, 2 dc in same sp, ch 2, 3 dc in same sp. *Ch 1, 3 dc in next ch-1 space, ch 1, (3 dc, ch 2, 3 dc) in next corner ch-2 space; repeat from * twice more. Ch 1, 3 dc in next ch-1 space, ch 1, join with sl st to top of beginning ch 3. (36 dc, 4 corner ch-2 spaces, 8 side ch-1 spaces)
Finishing
Fasten off your yarn, leaving a six-inch tail. Pull the tail through the final loop to secure it. Using your tapestry needle, weave the yarn end back and forth through the stitches on the wrong side of the square to hide it securely. Trim any excess yarn close to the fabric.
Care & Washing Instructions
- Hand wash your finished squares in cool water using a mild wool-friendly detergent to prevent fiber degradation.
- Lay the squares flat on a clean towel to air dry, ensuring they are positioned away from direct sunlight or heat sources.
- Gently reshape the squares while damp by pulling on the corners to ensure they remain perfectly square after drying.
Pro Tips & Common Mistakes to Avoid
- Maintain consistent tension by ensuring you pull your yarn through the loop at the same distance for every stitch, which keeps your squares from puckering or curling.
- Use a stitch marker in the top of your beginning chain 3 for every round to help you easily locate the spot where you need to join at the end of the round.
- Weave your ends in by catching the inner loops of the stitches on the back side of the work, which keeps the ends hidden without creating visible bumps on the front.
- If you wish to make the square larger, simply continue repeating Round 3, adding more side clusters (3 dc groups) into the ch-1 spaces as the sides grow longer. Note that each additional round will use approximately 10 to 15 additional yards of yarn.
Frequently Asked Questions
Can I use cotton yarn instead of acrylic?
Yes, cotton yarn is an excellent choice for granny squares, especially for items like dishcloths or coasters. Keep in mind that cotton has less stretch than acrylic, so your tension might feel slightly tighter while working.
Is it okay to change colors every round?
Absolutely. Many crafters prefer changing colors to use up small scraps. To do this, fasten off at the end of a round and join your new color in any corner space with a standing dc or by simply chaining 3.
How do I know if I am a beginner?
If you can hold your hook and yarn with basic comfort and have mastered the chain and double crochet stitches, you have the skills required for this pattern. The repetitive nature of the granny square is designed specifically to build muscle memory for these exact stitches.
Can I sell the squares I make from this pattern?
You are welcome to sell finished items made from this pattern as long as you provide credit to the designer. Do not reproduce or sell the written instructions themselves, as the pattern remains the intellectual property of the creator.
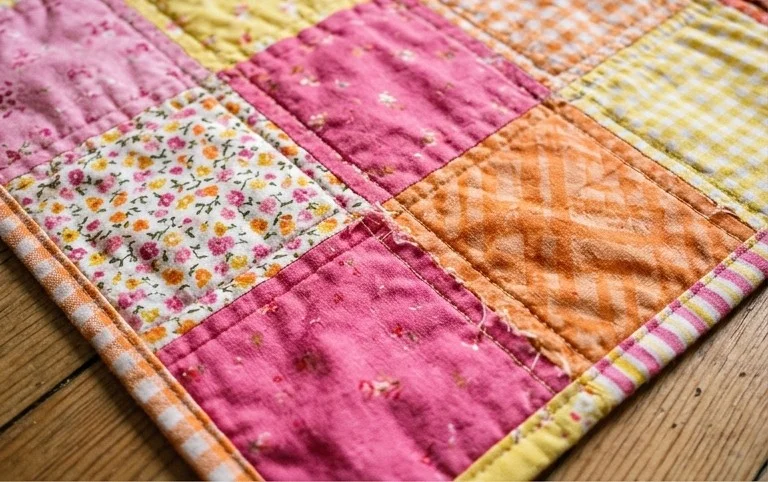
A finished stack of these crocheted squares feels like a true accomplishment because each one represents a bit of time well spent. You might experiment with a monochromatic gradient by using different shades of blue to add depth to your next version of this project. Upload your work to social media to show others how your colors came together in the final layout. Our blog contains many more free patterns for you to browse whenever you want to start a new creative hobby.