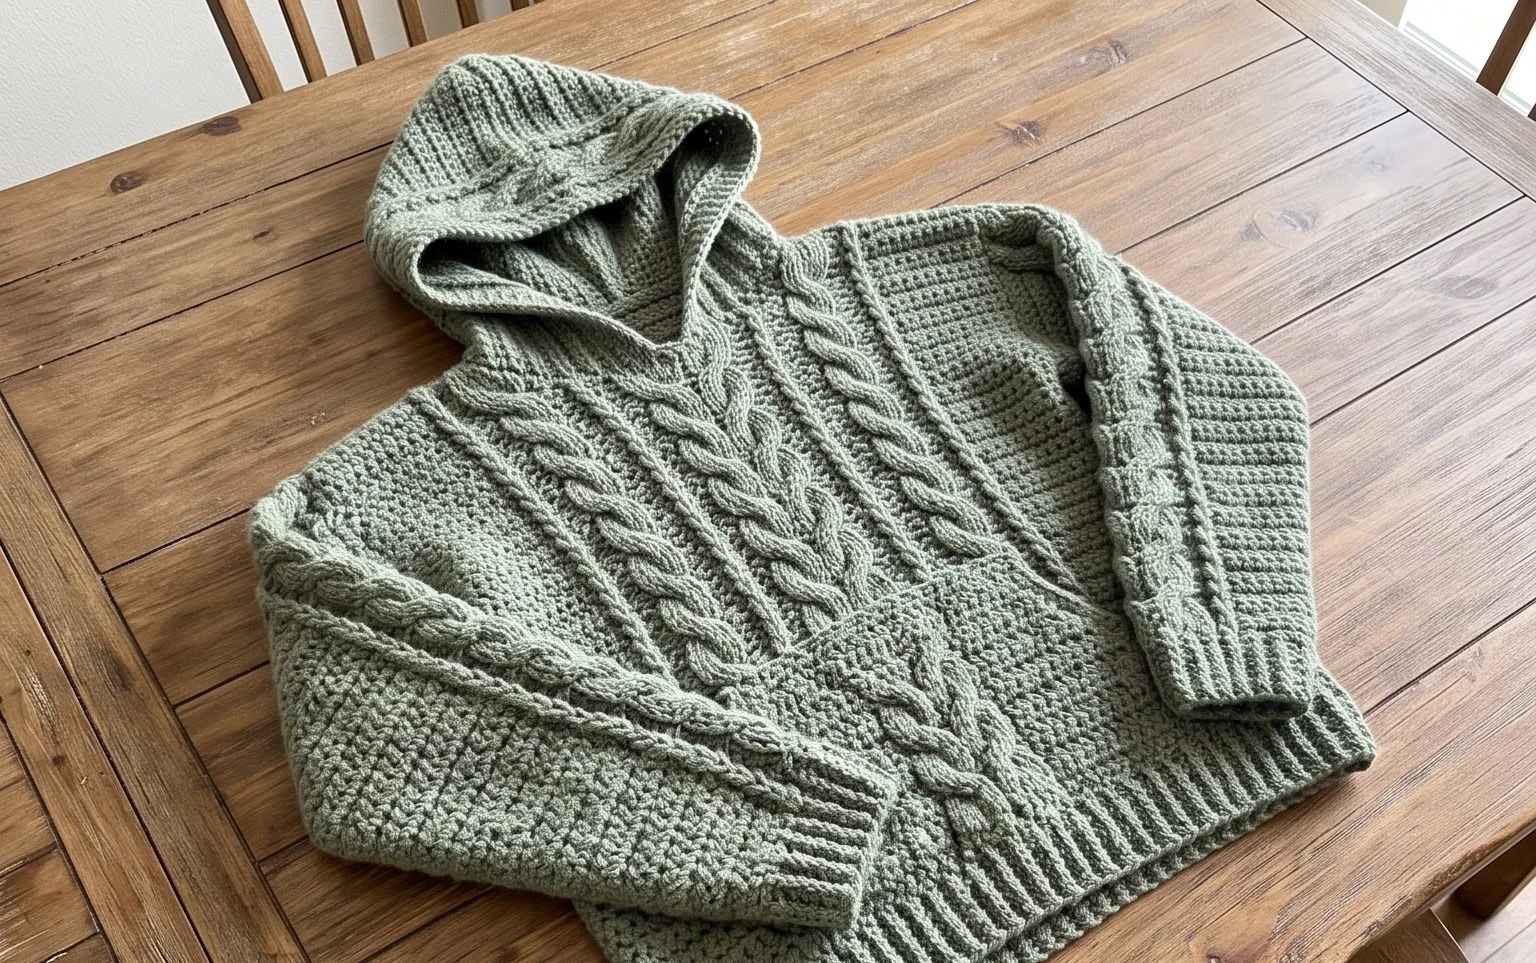
Spiral Granny Square Pattern: Free Beginner Tutorial
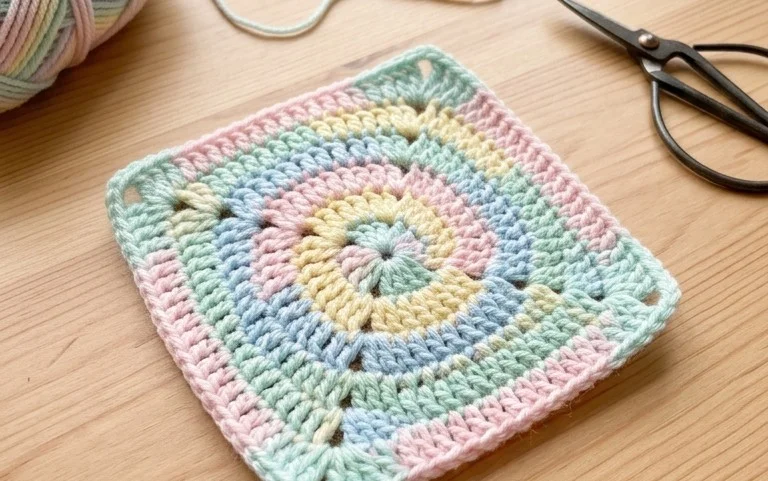
This bag displays a distinct spinning effect that draws the eye, making it a great conversation piece for your next market run. The finished fabric feels dense and thick, ensuring your belongings stay secure while adding a handmade touch to your daily routine. Beginners will appreciate how the simple color changes create a complex visual motion without requiring extra ends to weave in. You will learn to manipulate stitch placement in each round to achieve that spinning geometry. It is a rewarding project for anyone building their skills or clearing out a colorful yarn stash.
Why This Project Is Worth Making
The Classic Crochet Granny Square Tote is a functional staple for any maker because it transforms a collection of simple motifs into a durable, everyday carry-all. You will find this pattern rewarding because the repetitive nature of the granny square stitch is meditative and perfect for long stitching sessions. This project serves as an ideal stash-buster since you can work each square in a different color or coordinate your yarn scraps to match your favorite outfit. Because the tote is constructed from joined squares, you do not need to carry a large, heavy project bag while working on it.
I finally used up all my leftover worsted weight yarn to make this bag and it is incredibly sturdy for grocery runs. The instructions for joining the squares made the assembly much easier than I expected.
— Sarah, intermediate crocheter
Pattern Overview & Skill Level
- Skill Level: Advanced Beginner
- Approximate Time: 8 to 10 hours
- Construction: Joined square motifs with a worked-in-the-round border and integrated handles
- Finished Dimensions: 14 inches wide by 14 inches deep, excluding handles
Materials & Supplies Needed
- Yarn: Worsted weight (#4) cotton or acrylic blend, approximately 600 yards total. Cotton is recommended for durability and lack of stretch.
- Hook Size: 5.0 mm (H-8) crochet hook
- Notions: Tapestry needle for weaving ends, scissors, and a measuring tape
- Yarn Substitutions: Wool yarns may be used, though they are prone to felting and may stretch significantly under weight. Cotton-acrylic blends provide the best balance of structure and softness.
Stitch Guide & Abbreviations (US Terms)
- ch = chain
- sc = single crochet
- dc = double crochet
- sl st = slip stitch
- st = stitch
- sp = space
- shell = 3 dc in the same stitch or space
- join = sl st to the first stitch of the round to close
Step-by-Step Pattern Instructions
Granny Squares
Make 13 identical squares. Each square measures 4.5 inches.
- Rnd 1: Start with a magic ring. Ch 3 (counts as 1 dc), 2 dc in ring, ch 2, *3 dc, ch 2; repeat from * twice more. Join to top of ch 3. (12 dc, 4 ch-2 sps)
- Rnd 2: Ch 3, 2 dc in same sp, ch 1, *(3 dc, ch 2, 3 dc) in corner ch-2 sp, ch 1; repeat from * twice more, 3 dc in final corner, ch 2, join. (24 dc, 8 ch-1 sps)
- Rnd 3: Ch 3, 2 dc in corner space, ch 1, 3 dc in next ch-1 sp, ch 1, *(3 dc, ch 2, 3 dc) in corner, ch 1, 3 dc in next ch-1 sp, ch 1; repeat from * twice more, 3 dc in final corner, ch 2, join. (36 dc)
Assembly
Arrange your 13 squares into a layout of 4 squares for the front, 4 for the back, 2 for each side, and 1 for the base. Use a flat slip stitch seam to join the squares, working through the back loops only to create a clean, professional finish. Ensure all yarn ends are secured on the interior of the bag.
Top Border and Handles
Rnd 1: Attach yarn at any top corner. Sc evenly around the entire top edge of the bag, placing 2 sc in each corner. Join to the first sc. (Approx 80-90 sts depending on tension).
Rnd 2-4: Ch 1, sc in each stitch around. Join. (90 sts).
Rnd 5 (Handles): Ch 1, sc in 15 sts, ch 40, skip 15 sts for handle opening, sc in next 30 sts, ch 40, skip 15 sts, sc in remaining 15 sts. Join.
Rnd 6: Ch 1, sc in every sc and 50 sc around each handle chain. Join and fasten off.
Care & Washing Instructions
- Hand wash in cool water with a mild detergent to prevent the fibers from stretching or pilling.
- Lay the bag flat on a clean towel to air dry, reshaping it while damp to ensure the squares remain square.
- Avoid using a tumble dryer, as high heat can shrink cotton and weaken the tension of your seams.
Pro Tips & Common Mistakes to Avoid
Maintaining consistent tension is the most important factor for a professional look. If your squares are pulling tight at the corners, increase your hook size by half a millimeter. To ensure your count is accurate, place a stitch marker in the first stitch of every round. Weave your ends in by running the tapestry needle through the back of the double crochet stitches in opposite directions for at least one inch to prevent them from unraveling during use. If you wish to make the bag larger, add more rounds to each granny square before joining, keeping in mind that this will require significantly more yarn.
Frequently Asked Questions
Can I use wool yarn for this bag?
Wool is soft, but it will stretch significantly when the bag is filled. If you choose wool, consider lining the interior with fabric to add support and prevent the bag from sagging.
Is this project suitable for a complete beginner?
If you are comfortable with basic stitches like double crochet and chain, you can successfully complete this project. The assembly process is the most difficult part, so take your time lining up the corners of each square.
How do I adjust the size of the tote?
You can increase the size by adding more squares to the base or by adding an extra round to each square. Be aware that increasing the size will increase the total yardage required for the project.
Can I sell the finished bags?
You may sell finished items made from this pattern as long as you credit the design. Always check the specific terms of use provided by the pattern designer, as policies can vary between independent creators.
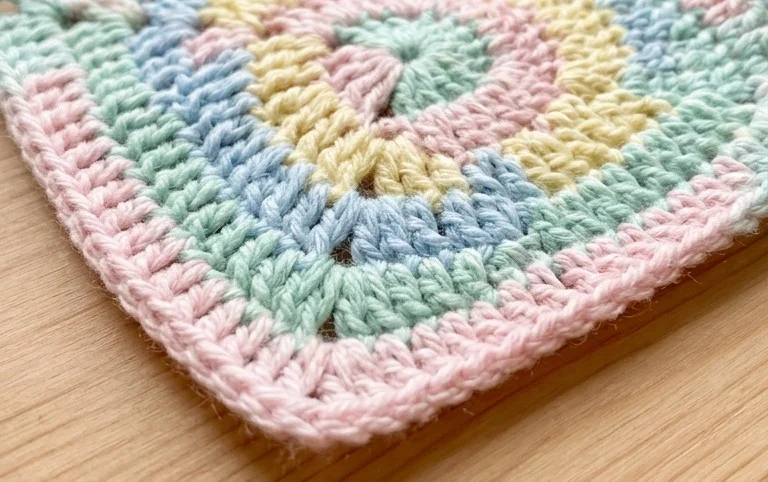
Your finished bag stands as a functional piece of art that handles heavy items like groceries with impressive strength. Try working your next version in a solid neutral yarn to emphasize the geometric motion of the stitches or make it smaller for a dainty coin pouch. Sharing a photo of your work on your favorite social media platform helps other crafters see how different color combinations turn out. You can find more free project ideas and inspiration on the rest of the blog whenever you are ready for a new challenge.