Free Crochet Spider Pattern: Simple Beginner Tutorial
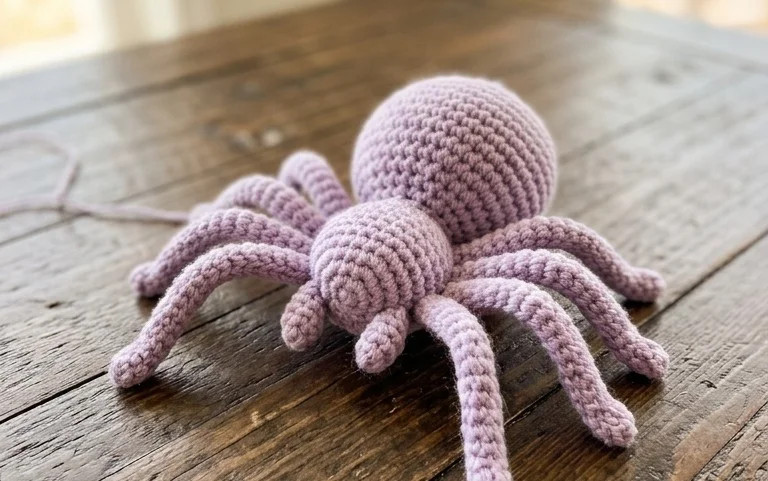
This small spider project fits comfortably in the palm of your hand, featuring a round, squishy body and eight posable legs that hold their shape against any surface. It acts as a fun piece of seasonal home decor or a quick toy for children who appreciate creepy-crawly creatures. You gain confidence working with continuous rounds and standard increases while mastering the often tricky magic ring. Because the piece requires minimal yarn, you can experiment with different weights without fear of wasting supplies. By the end of this guide, you will feel ready to assemble several spiders to crawl across your mantle.
Why You’ll Love This Pattern
This crochet sphere pattern uses the classic amigurumi technique of working in continuous rounds, making it an ideal project for those who want to practice their tension and shaping. Because it requires only a small amount of yarn, it serves as a stash-buster for those leftover bits of worsted weight material. The resulting shape is sturdy enough to hold its form while remaining soft to the touch, which makes it suitable for decorative displays or as a base for more complex creatures. You can complete this project in under an hour, providing an immediate sense of accomplishment that is hard to find in larger, time-intensive blankets or garments.
I finally learned how to keep my magic ring tight after practicing this sphere pattern. It is the perfect size for desk decor and works up incredibly fast.
— Sarah, beginner crocheter
Pattern Overview & Skill Level
- Skill Level: Beginner
- Approximate Time: 45 minutes
- Construction: Worked in continuous rounds using a magic ring for the start, followed by increases, even rounds, and decreases for shaping.
- Finished Dimensions & Sizing: Approximately 3 inches in diameter when using worsted weight yarn.
Materials & Supplies Needed
- Yarn: Worsted weight (#4) acrylic or cotton yarn, approximately 20 yards.
- Hook Size: 4.0 mm (US G-6) crochet hook.
- Notions: Tapestry needle, stitch marker, and polyester fiberfill stuffing.
- Safe yarn substitutions: You may use DK weight yarn with a 3.5 mm hook for a smaller, tighter sphere, or bulky weight yarn with a 5.5 mm hook for a larger, softer version. Adjusting yarn weight will change the final size and require more or less stuffing.
Stitch Guide & Abbreviations (US Terms)
- MR: Magic ring
- ch: Chain
- sc: Single crochet
- inc: Increase (work 2 sc into the same stitch)
- dec: Decrease (invisible decrease: insert hook into the front loop of the next two stitches, yarn over, pull through both loops, yarn over and pull through remaining two loops)
- sl st: Slip stitch
- st(s): Stitch(es)
- Rnd: Round
Step-by-Step Pattern Instructions
Sphere Body
Work in a continuous spiral. Place a stitch marker in the first stitch of each round to keep track of your position.
- Rnd 1: Start 6 sc in a magic ring (6 sts)
- Rnd 2: inc in each st around (12 sts)
- Rnd 3: [inc, sc in next st] 6 times (18 sts)
- Rnd 4: [inc, sc in next 2 sts] 6 times (24 sts)
- Rnd 5: [inc, sc in next 3 sts] 6 times (30 sts)
- Rnd 6-10: sc in each st around (30 sts)
- Rnd 11: [dec, sc in next 3 sts] 6 times (24 sts)
- Rnd 12: [dec, sc in next 2 sts] 6 times (18 sts)
- Rnd 13: [dec, sc in next st] 6 times (12 sts)
- Rnd 14: dec 6 times (6 sts)
Finishing and Closing
Cut the yarn leaving a 6-inch tail. Pull the tail through the final loop. Use your tapestry needle to weave the tail through the front loops of the remaining 6 stitches. Pull tight to close the hole securely. Knot the yarn and hide the tail inside the sphere by pushing it through the center of the piece with your needle.
Care & Washing Instructions
- Hand wash in cool water using a mild detergent to prevent the stuffing from clumping.
- Gently squeeze out excess water with a towel; do not wring or twist the sphere.
- Reshape while damp and lay flat on a clean surface to air dry completely.
Pro Tips & Common Mistakes to Avoid
Maintaining a consistent tension is vital for amigurumi to ensure the stuffing does not show through the gaps between stitches. Always keep a stitch marker in the first stitch of every round to avoid losing your place, as spiral rounds have no natural stopping point. When weaving in your ends, go back and forth through the interior of the sphere to ensure the yarn tail remains buried and secure. If you want to make the sphere larger, continue increasing by 6 stitches every round until you reach your desired diameter, then work even for several rounds before beginning the decrease rounds in the reverse order.
Frequently Asked Questions
Can I use cotton yarn instead of acrylic?
Yes, cotton yarn works well for spheres and creates a very firm, defined look. Note that cotton has less stretch than acrylic, so your hands may tire more easily while maintaining the required tension.
How do I keep the stuffing from poking through the holes?
If you see gaps, drop down one hook size. A smaller hook creates tighter stitches, which keeps the polyester fiberfill contained and provides a cleaner appearance.
Is this pattern suitable for complete beginners?
Yes, this is an excellent starter project. It focuses on the most basic skills—the magic ring, single crochet, and simple increases—which are the foundations for almost all three-dimensional crochet projects.
Am I allowed to sell items made from this pattern?
You are welcome to sell finished items created from this pattern. Please credit the design to this tutorial whenever possible to help other makers find our resources.
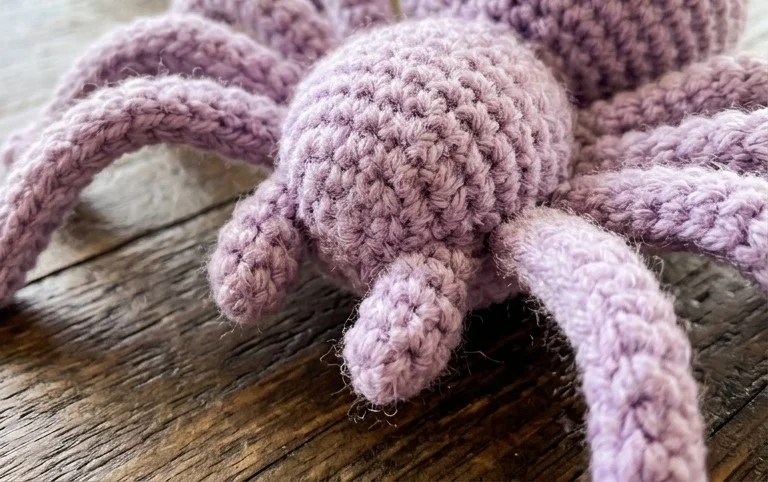
Seeing your handmade spider finished with its legs bent into a realistic shape brings a sense of real satisfaction to your afternoon. Try swapping the traditional black yarn for a bright, fuzzy chenille strand if you want a softer, more modern look for your display. I love seeing how your creative choices turn out, so please post a photo of your finished work on your favorite social media site. You can find several more creative projects and quick hobby ideas waiting for you on the main blog page.